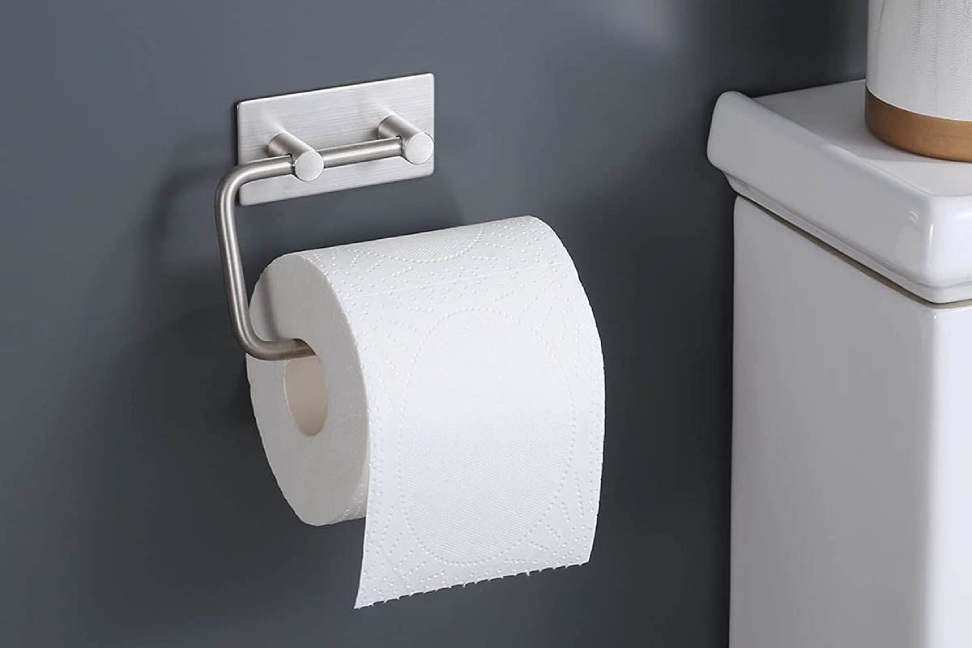
Let’s face it, the humble toilet paper holder is a bathroom hero. Yet, its installation can sometimes feel like an epic battle. Fear not, fellow warriors of convenience! This guide will equip you with the knowledge and tools to install your toilet paper holder with confidence, transforming your bathroom into a haven of effortless roll-unwinding.
Step 1: Assemble Your Arsenal

Before embarking on this noble quest, gather your trusty tools:
- Pencil: Your strategic map-maker for marking the battlefield (aka, the wall).
- Tape measure: Ensures accurate positioning, keeping your toilet paper within arm’s reach (no more awkward stretches!).
- Level: Your guardian against leaning towers of toilet paper, promoting roll stability.
- Drill: Your trusty warhorse, punching through walls (with the power of responsibility, of course).
- Screwdriver or Allen wrench: Tightens those screws like a knight securing his armor.
- Screws and/or drywall anchors: The foot soldiers holding your throne of hygiene aloft.
- Your chosen toilet paper holder: The valiant champion, ready to serve.
Step 2: Choose Your Battlefield Wisely

Location, location, location! Consider these factors:
- Accessibility: Aim for 26 inches from the floor, placing the roll comfortably within arm’s reach for all users.
- Distance from the toilet: 10-12 inches from the front of the toilet bowl is the sweet spot for optimal roll dispensing.
- Stud support: If possible, mount your holder onto a wall stud for maximum stability. Use a stud finder to locate these hidden reinforcements.
- Existing holes: Repurposing old holes saves time and effort, but ensure they align with your new holder.
Step 3: Mark Your Territory

With your tape measure and pencil, mark the drilling points on the wall based on your chosen location and the holder’s mounting holes. Use the level to ensure straight alignment, preventing a wonky roll situation.
Step 4: Prepare for Battle (Drilling)

- Pilot holes: Drill smaller holes at your marked points to guide the screws and prevent the wall from cracking. Choose the drill bit size based on the screw diameter.
- Drywall anchors (if needed): For hollow walls without studs, use drywall anchors for a secure hold. Insert them gently with a hammer or drill as per the instructions.
Step 5: Mount Your Champion

- Screw it up (the right way): Insert the screws into the pilot holes or anchors, using the screwdriver or Allen wrench. Tighten them firmly, but avoid overdoing it to prevent damage.
- Follow instructions: Some holders have specific mounting steps; consult the manual for any unique requirements.
Step 6: Celebrate Victory (and Unroll with Ease!)

Attach the toilet paper holder to the mounted base following the manufacturer’s instructions. Slide on a fresh roll of your favorite brand, and revel in the satisfaction of your successful installation. You’ve conquered the battlefield and secured your throne of convenience!
Bonus Tips:
- Consider accessibility needs: If installing for someone with limited mobility, follow ADA guidelines for placement and ease of use.
- Decorative touch: Opt for a holder that complements your bathroom’s style, adding a touch of personality.
- Spring-loaded vs. fixed: Choose a style that suits your preference and usage habits.
- Enjoy the fruits of your labor: Bask in the knowledge that you’ve installed a vital bathroom component yourself, a testament to your DIY prowess.
Remember, even small victories like installing a toilet paper holder can bring a sense of accomplishment and empowerment. So, grab your tools, channel your inner hero, and prepare to conquer the bathroom with confidence!
Read Also:
- Top 10 Gaming Room Design Ideas
- Top 10 Kitchen Interior Design Ideas
- Custom Steel Gate Designs For Home: Enhancing Security And Style

